DIY: Indoor Garden

posted on: 7.15.2013

In April, I decided my summer project would be to start an indoor garden. There's something rewarding about gardening and this project was no exception. I'm eager to water my garden every morning just to see the buds that are sprouting! I put together this 5-easy-steps DIY so you can join me in this!
You will need:
-coffee filters
-cans
-soil
-seeds

How to:
1. Drill holes in the cans. I saved the cans from some canned baked beans I had cooked, then drilled a hole in the middle. This could also be done by nail & hammer.
2. Put coffee filter inside the can, then add the soil. This will prevent the soil from escaping through the hole, while at the same time filtering the water out so that it doesn't accumulate at the end of the can (this could potentially rot the roots). Make sure that there's enough soil! Just leave 1/2 inch from the top.
3. Add seeds. I selected mostly herbs (cilantro, oregano & basil) that I season meals with, along with a flower plant (lavender). All of these plants are indoor approved. I got them at walmart but you can get seeds anywhere. Also, make sure you add about up to 5-7 seeds around the soil. Try to keep the seeds apart from each other. Water the soil for the first time.
4. Water the soil for the first time and put the cans next to a window with plenty of sunlight! I usually water my plants every morning. I don't use a lot of water, just enough to keep the soil moist. If you put the cans together, make sure you label them so you don't forget which plant is which. One of my favorite parts was getting creative with plant labels!
5. Watch them grow! The seed packets will tell you how long it takes for them to grow, when it's best to grow them and what to do after they've reached a certain height.

[how to] get the best pictures from your camera

posted on: 6.28.2012

Whether you own a point & shoot or a DSLR, I'm gonna tell you how to get the best pictures from your camera (how I do it, anyways). This is for everyone—from the occasional blogger to the aspiring photographer.

1. Train your eyes to see // when you wake up in the morning the first thing you do is open your eyes to see. Look around you & capture (with your mind) something that you like or find interesting. You have an advantage that your camera doesn't: you have two eyes while your camera has one.

2. Read the camera's instructions manual // seems logical but the truth is the majority of us don't do this. How will you know about all the things your camera can do if you don't read the manual? Even if you know the basics, each camera comes with a set of unique features. I carry the little thing everywhere! my motto: "When in doubt, read the manual".

3. Don't "spray and pray" // spray & pray is a term that some photographers use to refer to taking a lot of continuous pictures without putting much thought into the shots. While continuos shooting is good when you're about to capture a moment, it is not attractive when you're just hoping to get shots that are worth it. Put a little more effort in composing & creating the shot. Some cameras enable the grid in live view which is really useful when using the rule of thirds to compose a shot.

4. Treat your digital camera as a film camera // let's face it, the digital age has changed the way we approach taking pictures. We have memory cards that give us the power to shoot without limitations. One of the greatest things I've learned from film photography is that I need to know when to stop.
With film cameras, you only get 24 or 36 exposures in one sitting. Most of the time, I'll use 1 roll of film for multiples occasions. I challenge you to just give yourself 24 exposures on your digital camera. You will force yourself to make each picture count (this will also help keep your image files to a minimum & avoid deleting in camera).

5. Stop relying on PS, LR and PicMonkey // while image softwares are not sinful, the easy access to them has made us think the following: picture - image software = worthless. Not true. Adding a filter to a picture will not always make it magazine worthy. You can shoot a picture and wow your audience without editing, otherwise know as SOOC  (straight out of the camera). I know plenty of photographers that never alter their images, like Millie Clinton. Other photo enthusiasts just do minor adjustments. Taza from Rockstar Diaries lives by just iPhoto alone, a Mac software for organizing picture; 100% of her pictures are SOOC with minor color adjustments done in iPhoto. This means that composition is all done in camera.

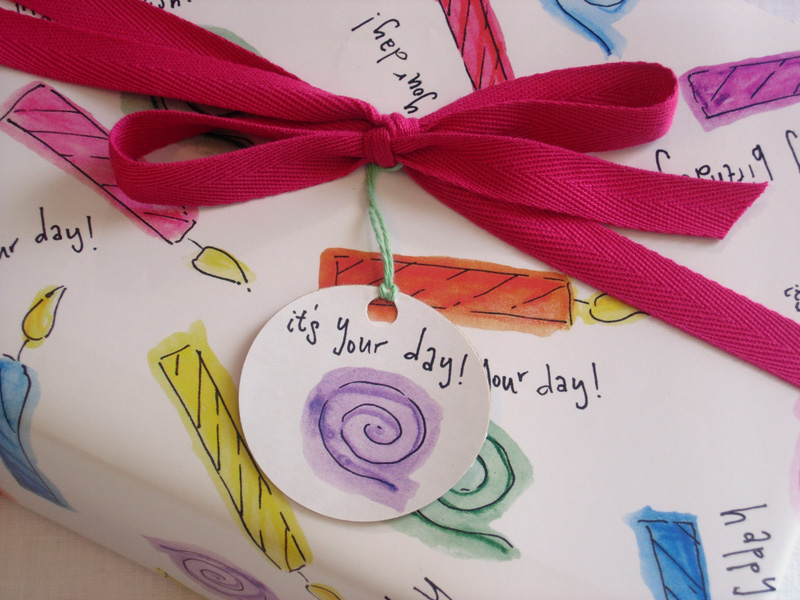
6. Take your camera everywhere // now that you've [hopefully] practiced the principles above you are ready to shoot. Take your camera to breakfast; take your camera grocery shopping; take your camera to the gym; take your camera on a road trip; take your camera to a park; take your camera to your friend's birthday. Of course, don't be careless with it! Just make sure to have it nearby if you see something. You don't want to miss out on a memory. (Don't be so focused on taking pictures that you miss enjoying the moment either!)

7. Don't spend a lot of time looking at photo blogs // I want to encourage you to shoot the things that are special, valuable and unique about you & your life. Admiring other photo blogs is a great to support other photographers and normal people, but sometimes we might be tempted to want to a copy from them or shoot what they like. Admiration can quickly turn into jealousy—and even worse, you might be tempted to compare your work with theirs. Don't allow yourself to fall into this. Every journey of picture taking is different and comparing will not do accurate justice. Try what works for you.

DIY: Recycled Envelopes

posted on: 12.21.2011


Add a little spice to letter sending with this fun DIY. I used to always have magazines around and now, I always have catalog issues! I didn't want to completely throw them out, so I came up with a unique way to recycle, reuse & send beauty around the world.


What you will need:
  1. Ruler
  2. Tape
  3. Scissors 
  4. Round Corner Puncher (optional)
  5. Pencil
  6. Magazines/Catalogs (I'm using antro & boho)
  7. Envelope templates [Download here: shape 1, shape 2, shape 3]
    (you could always deconstruct an envelope and use that as template)
 Instructions:

Choose the pages you wants to use. Trace the templates on the pages with a pencil (I use the ruler  as well to be a little more precise) and cut the shape with scissors. Decide which part will be the front and fold opposite to it, shown in the video. If needed, round the corners. Tape to hold shape in place. Put letter in, add a stamp & addresses, and mail it! Easy, simple, fun & green :)

    I'm also opening the penpal exchange to girls who are interested! It's something I personally love doing. My letters have gone to Italy, India, Africa, UK, Puerto Rico, Dominican Republic & within the US. I'm open to talk about the things of God, books, photography, music, recipes & life experiences.
    Requirements:
    • Girls ages 13-25 (Under 18 should have parents consent)
    • International citizens 
    • Blog owners (for safety reasons)
    Just shoot me an email with the link to your blog & mail address. If you want to get a cute little holiday card from me, do it ASAP!

    DIY: Diana mini

    posted on: 7.06.2011

    You may or may not have known that I wanted to get my hands on a Diana mini. But even though I could afford it, I refused to pay $100-ish something for a toy camera. I mean, really? come on!
    But alas, I stepped into UO's 4th of July sale not knowing I would find myself with a special edition diana mini camera. with. flash. My smile widened. {Especially when the retail price said $120 and my total was $41!!!}
    Anywho, as much as I was happy to get my hands on this camera, I was not looking forward to seeing a worm smoking mushroom everytime I wanted to snap a picture.
    This is how the need to create started! Why not paint my diana mini? It's a plastic toy camera after all.

    I grabbed a silver tissue paper and used it as my working mat. {I used acrylic paints with small paintbrushes.} I painted over what i wanted to cover (anything alice-related, lol) with the color white (about 3 coats; letting each coat dry). Then I thought of a design and used red (about two coats). And finally, with a black sharpie (I know what you're thinking, but it worked wonders!) I did some designs I had in my old moleskine notebook (thanks Jayvier).


    That's pretty much all I did; genius, I know! I just love having a customized diana mini.
    [Not Shown: I put my name on the left hand side + Ephesians 5:13 on the back with a cute heart]


    If you don't feel like permanently painting, find out how to make a skin for it here.

    DIY Tuesday: Teacup Candles

    posted on: 7.20.2010


    Found this DIY at Design Sponge and I can't wait to make some. It's super easy and cheap! Learn how to make teacup candles here.

    DIY Tuesday: Tea Envelopes

    posted on: 6.01.2010


    Want to create your own spring tea envelopes? Follow the steps here.

    DIY Tuesday: Indie Mixtape

    posted on: 5.11.2010


    The blog A Beautiful Mess posted a DIY project on mixtapes. Be sure to check out how to make this here.

    Hey guys! I have to say I'm in love with the post option that blogger has. I am never really online as often, only to check my email. So what you're going to be seeing in the next few weeks are 'scheduled' posts. I take a day, once a week to do all the posts for the next week. It's a relief. I love blogging, don't get me wrong. But I also love being out in the open and experiencing life. Not only that, I have a stack of books I want to read before the fall and I'm devouring them with all my spare time and vanilla chai tea. Oh, summertime.

    a girl with a smile

    DIY Tuesday: How to make bows

    posted on: 4.27.2010

    DIY Tuesday: Wall Decor

    posted on: 4.21.2010

    DIY Tuesday

    posted on: 3.10.2009

    1. Magazine coasters

    Tutorial Via here

    2. Gift Tag Tutorial

    via here

    3. Five Things You Can Make Out of a Film Canister

    Via here

    4. DIY Cardboard Hipster Frames

    Via here

    5. Inspirational Stones

    Via Curbly

    6. Cinnamon Votives

    Via here

    7. Eye Pillows

    Via here

    8. Cute Storage Ideas

    Via Here

    9. Wood picture Frame

    Via here

    10. Eco Bags

    Via here

    DIY ripped jeans

    posted on: 12.30.2008


    I made some rippies! I love them! I wanted to do some ripped pants for a long time.

    I'm going to show you how. You'll need: Scissors or an exacto knife, and some denim jeans. First, i took some pants i haven't worn in a long time. I put them on and, with a pen, I outlined where i wanted the holes/rips to be. i made circles to the places where i want to just make an opening and rip it with my hands; or i where i just wanted play with the fabric. On the image on the left, the pink circles identify where i have made the outlines.

    Some people stain the jeans with coffee or wash it a couple of times and then tumble dry it before wearing them. What i did after ripping/cutting was throw it in the washer real quick to fade the pen lining and to make the rips more natural. And i hanged it outside to dry. And thus, my ripped jeans.


    Cutting through the outlines with the exacto knife. Be very careful and PATIENT when doing this. Trust me, exactos can be very dangerous. Pretty much from then on, you just get creative and continue to do it your own way. Cutting the jeans. Be careful not to cut through the back side of the jean.


    The final result!

    p.s. click on the pictures to see them in original size

    Ruffled skirt

    posted on: 10.16.2008

    So i began experimenting on a ruffled skirt. It's supposed to be high waisted, and i ran out of fabrics...Thank God the skirt is put together in pieces. So I'm constructing it. I hope to get more fabrics on Saturday.
    I hope you can visualize it. I think it may consist on 3 ruffle pieces and the waistband (print fabric). I'll show you how it will look on me when I'm farther done with it.


    School is hectic. don't want to talk about it.